Maintaining your Stihl chainsaw ensures it runs efficiently and safely. One crucial component is the chain tensioner, which keeps the chain at the correct tension for optimal performance. If your chainsaw's chain tensioner is malfunctioning, it can lead to chain slippage or excessive wear, posing a safety risk. But don’t worry — replacing the chain tensioner on your Stihl chainsaw is a straightforward process that can easily be completed with basic tools.
Use the socket wrench to loosen the nuts on the guide bar cover. Remove the cover carefully.
Slide the guide bar and chain off the saw. Clean these components with a brush to remove any debris and set them aside.
Locate the Chain Tensioner Assembly
The chain tensioner is typically located on the side of the saw near the guide bar mount. It consists of a screw and a tensioning pin that engages with the guide bar.
Remove the Old Chain Tensioner
Use a screwdriver to carefully remove the tensioner screw. Depending on your model, you might need a flathead or Phillips screwdriver.
Once the screw is removed, use needle-nose pliers to extract the tensioning pin from its slot.
Clean the Tensioner Area
Before installing the new tensioner, clean the area where the tensioner sits. Use a brush to remove sawdust, oil, and debris. This ensures smooth operation and longevity of the new tensioner.
Install the New Chain Tensioner
Insert the new tensioning pin into the slot where the old one was removed. Ensure it fits snugly and moves freely.
Align the new tensioner screw with the hole and carefully screw it in place. Tighten the screw securely but avoid over-tightening, which can damage the threads.
Reattach the Guide Bar and Chain
Position the guide bar back onto the saw, ensuring the tensioning pin engages with the hole in the bar.
Place the chain back onto the guide bar, making sure it fits properly around the sprocket and lies correctly on the bar.
Adjust the Chain Tension
Use the newly installed tensioner to adjust the chain tension. Turn the tensioner screw until the chain is snug against the guide bar but can still be pulled slightly away from the bar.
Check the tension by pulling the chain. It should snap back into place without sagging.
Secure the Guide Bar Cover
Reattach the guide bar cover and tighten the nuts using the socket wrench. Ensure the cover is securely in place.
Final Checks
Reconnect the spark plug.
Start the chainsaw and let it run for a few moments. Observe the chain to ensure it moves smoothly and maintains proper tension.
Make any minor adjustments to the chain tension as needed.
Stihl Chainsaw Maintenance Tips
Regularly inspect the chain tensioner for wear and damage.
Keep the chainsaw clean and well-lubricated to ensure optimal performance.
Refer to the user manual for specific instructions related to your Stihl chainsaw model.
Precise, efficient trimming is key to maintaining pristine hedge edges and a well-groomed garden — and keeping up with regular maintenance for your STIHL hedge trimmer makes this possible. Over time, your blade can become dull or even damaged, but replacing your blade is a simple at-home fix with these easy steps.
Replacement blade compatible with your Stihl hedge trimmer model
Screwdriver
Socket wrench or Allen key (depending on your trimmer model)
Work gloves
Safety goggles
Clean cloth or rag
Step 1: Before you begin, ensure that your hedge trimmer is turned off and disconnected from any power source. This prevents accidental starts and ensures your safety throughout the process. Put on your work gloves and safety goggles to protect your hands and eyes from any sharp edges or debris.
Step 2: Locate the blade cover on your hedge trimmer. Typically, it is secured by screws or bolts. Using a screwdriver or the appropriate tool, carefully remove the screws or bolts to release the blade cover. Set the screws or bolts aside in a safe place to prevent them from getting lost.
Step 3: Once the blade cover is removed, you'll have access to the blade itself. Depending on your Stihl hedge trimmer model, the blade may be secured with either screws, bolts, or a blade retainer. Use the appropriate tool (socket wrench or Allen key) to loosen and remove the fasteners holding the blade in place. Keep track of these fasteners for reassembly later.
Step 4: Take your replacement blade and align it with the blade mount on your hedge trimmer. Ensure that the teeth of the blade are facing in the correct cutting direction. Once properly aligned, reinsert the fasteners and tighten them securely to hold the blade in place. Be careful not to over-tighten, as this could damage the blade or trimmer.
Step 5: With the new blade securely in place, position the blade cover over the blade assembly. Align it properly to match the screw or bolt holes. Then, using the screws or bolts you removed earlier, reattach the blade cover and tighten the fasteners until they are snug.
Step 6: Before using your hedge trimmer, double-check that all fasteners are tightened securely and that the blade cover is properly in place. Inspect the new blade to ensure it is aligned correctly and free from any defects or damage. Once everything is in order, remove your gloves and safety goggles and store them appropriately.
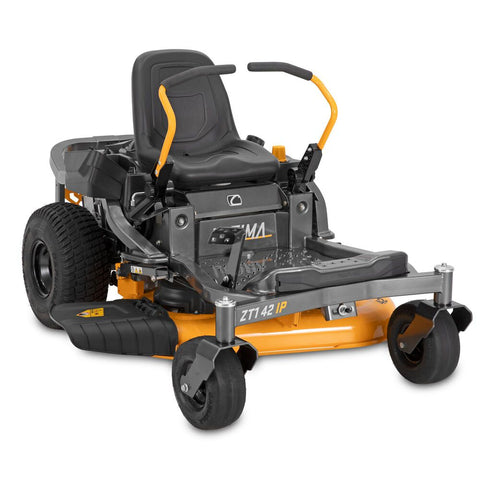
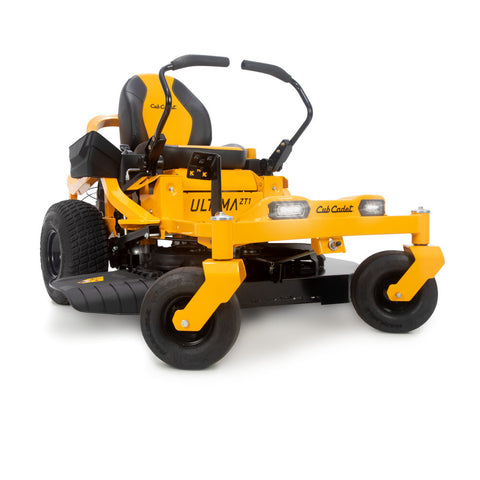
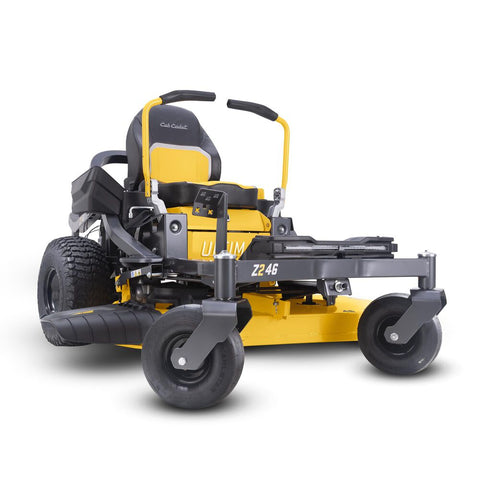
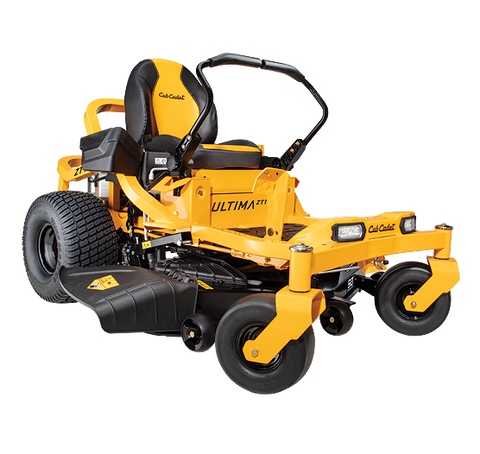
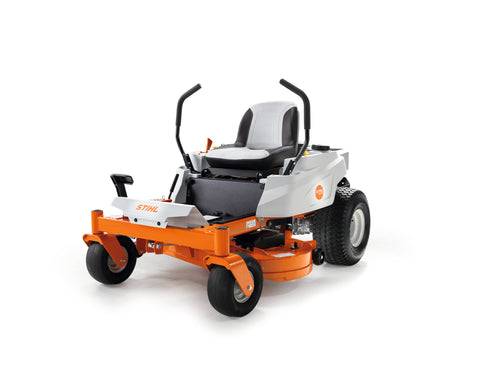
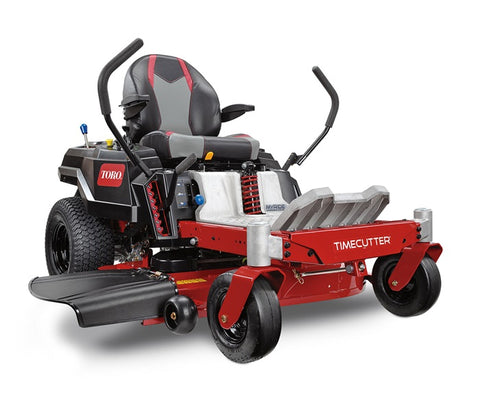
Explore our Zero Turn Mower Sales! Browse the featured units on sale below, but act fast – these incredible deals on Cub Cadet, Toro, Stihl, and Hustler Zero Turns may not last for long. Don't miss out on premium quality at unbeatable prices!