


Ferris F210ZBVE2861 5901653 ********NO LONGER AVAILABLE********
Product Number: 5901653
Not Available Online, Please Contact Us.
********NO LONGER AVAILABLE********
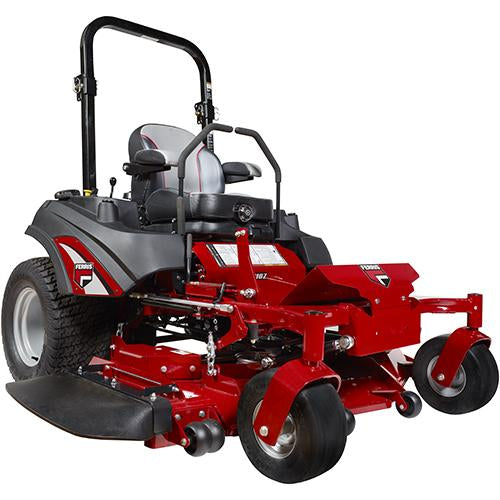
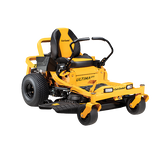
F210Z Zero Turn Mower
PREMIUM MOWING FEATURES AT A NOT-SO-PREMIUM PRICE
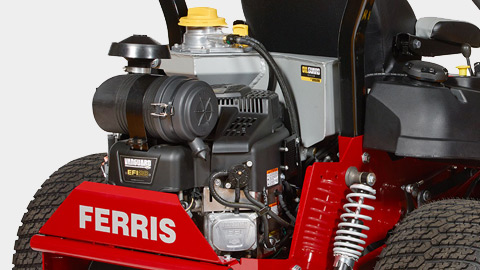
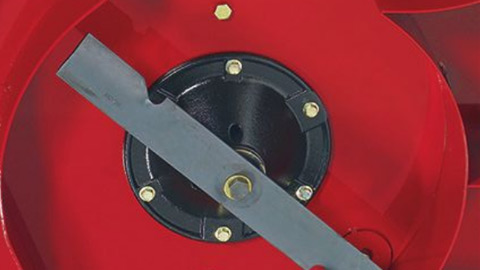
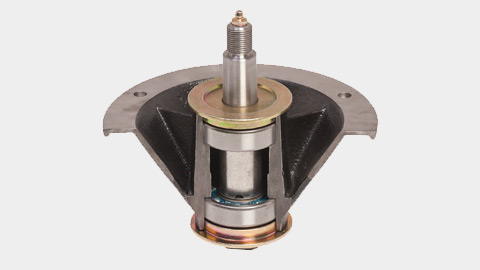
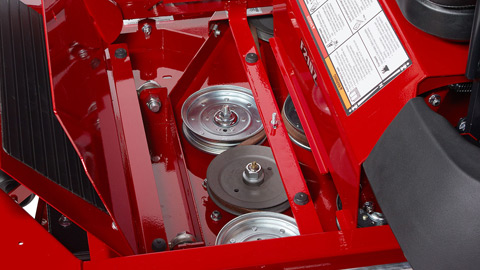
Engineered to tame even the most demanding environments, you'll find the Ferris® F210Z is up to the challenge. Equipped with premium components, like dual commercial Hydro-Gear® ZT-5400 Powertrain® Transaxles and cast-iron spindles with top access grease fittings, this is one workhorse you and your crew can depend on.
Features

** Cost savings based on oil maintenance with 100 hour interval versus Oil Guard System 500 hour service interval.
† See operator's manual or dealer for complete warranty details. Refer to engine operator's manual for engine warranty.
Specifications
* All power levels are stated gross horsepower at 3600 RPM per SAE J1940 as rated by Briggs & Stratton.
** Cost savings based on oil maintenance with 100 hour interval versus Oil Guard System 500 hour service interval.
† See operator's manual or dealer for complete warranty details. Refer to engine operator's manual for engine warranty.
Recommended Products
-
 $3,199.00
 -
 $2,049.00
 -
 $1,199.99
 -
 $999.99


